Before you spend the budget
Read the full request and separate required words from your own design idea. Note the occasion, requested style, colour or material constraints, and the budget. The exact hidden weighting of style, quality and budget is not publicly documented, so treat a green requirement as evidence for that visible condition, not as proof of a perfect final result.
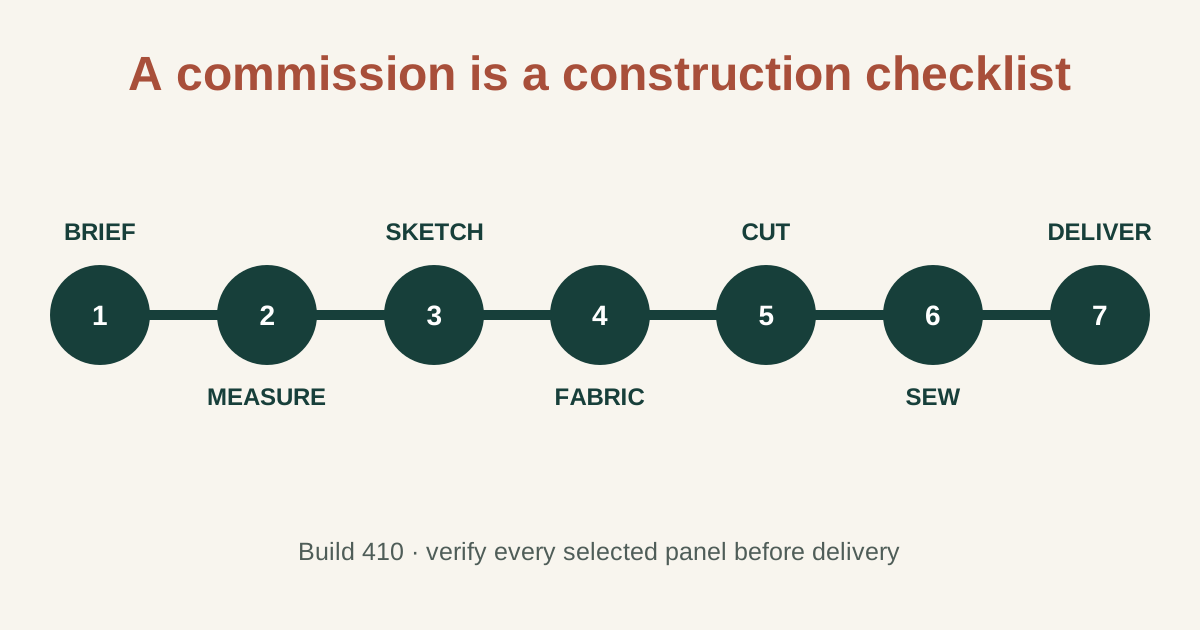
Build the dress in seven checks
- Measure the client and adjust the mannequin for that client.
- Choose bodice, sleeve, collar and skirt components in the sketchbook.
- Review the complete component list before leaving the sketchbook. In Build 410 the component names are clickable.
- Buy fabric with enough length for every selected panel, leaving room for layout waste.
- Place and cut every panel, then confirm that every cut piece appears in inventory.
- Pin all required panels to the mannequin and sew each seam shown by the current interface.
- Add optional trim or accessories, review the visible brief checks, and deliver.
Build 410 checks that prevent common stalls
Hover a loose inventory panel to see where it belongs on the mannequin. If the delivery action does not appear, compare the sketchbook component list with the cut and pinned panels before assuming the commission is broken. In Build 443, use the button to grab all panel pieces and inspect the improved panel preview hint. Historical reload reports are not a guaranteed fix or an undo method.
What to record after delivery
Keep the client, build, visible requirements, fabrics, component names and observed outcome together. Relationship progress can unlock additional patterns, so a later attempt may have options that were not available during the first commission.
Build 443: finish construction before choosing a sale action
Use the cutting-room button to grab all panel pieces, then check every component against the sketchbook. You can page the sketchbook to see other open commissions. The photo scene now labels its separate sale action “Sell as off-rack”; do not confuse that label with fulfilling the active client's request.
For the next practical skill, use the timestamped sewing walkthrough or the current trim controls.
Sources and verification
- Official Dressmaker Steam store
Product identity and the design, cutting, sewing and decoration loop. Exact recipes and hidden score weights are not published here.
- Developer: Patch Notes — Build 410
Official developer announcement; rechecked through the Steam news API on October 30, 2026.
- Developer: October Patch Notes — Build 443
Published October 14, 2026; retrieved through the official Steam news API on October 30. Documents controls, trim, scoring changes and new content.
- Steam players: missing-panel discussion
Historical player reports cited in the October 6 edition. Direct retrieval was unavailable on October 30; reload and restart outcomes have not been revalidated.
Original guide written by Stitch Brief from the sources above. Step order and diagnostic suggestions are editorial guidance. No first-hand game testing is claimed. Research and corrections method.